By Jonathan Misura
Gearing Up for the Ride
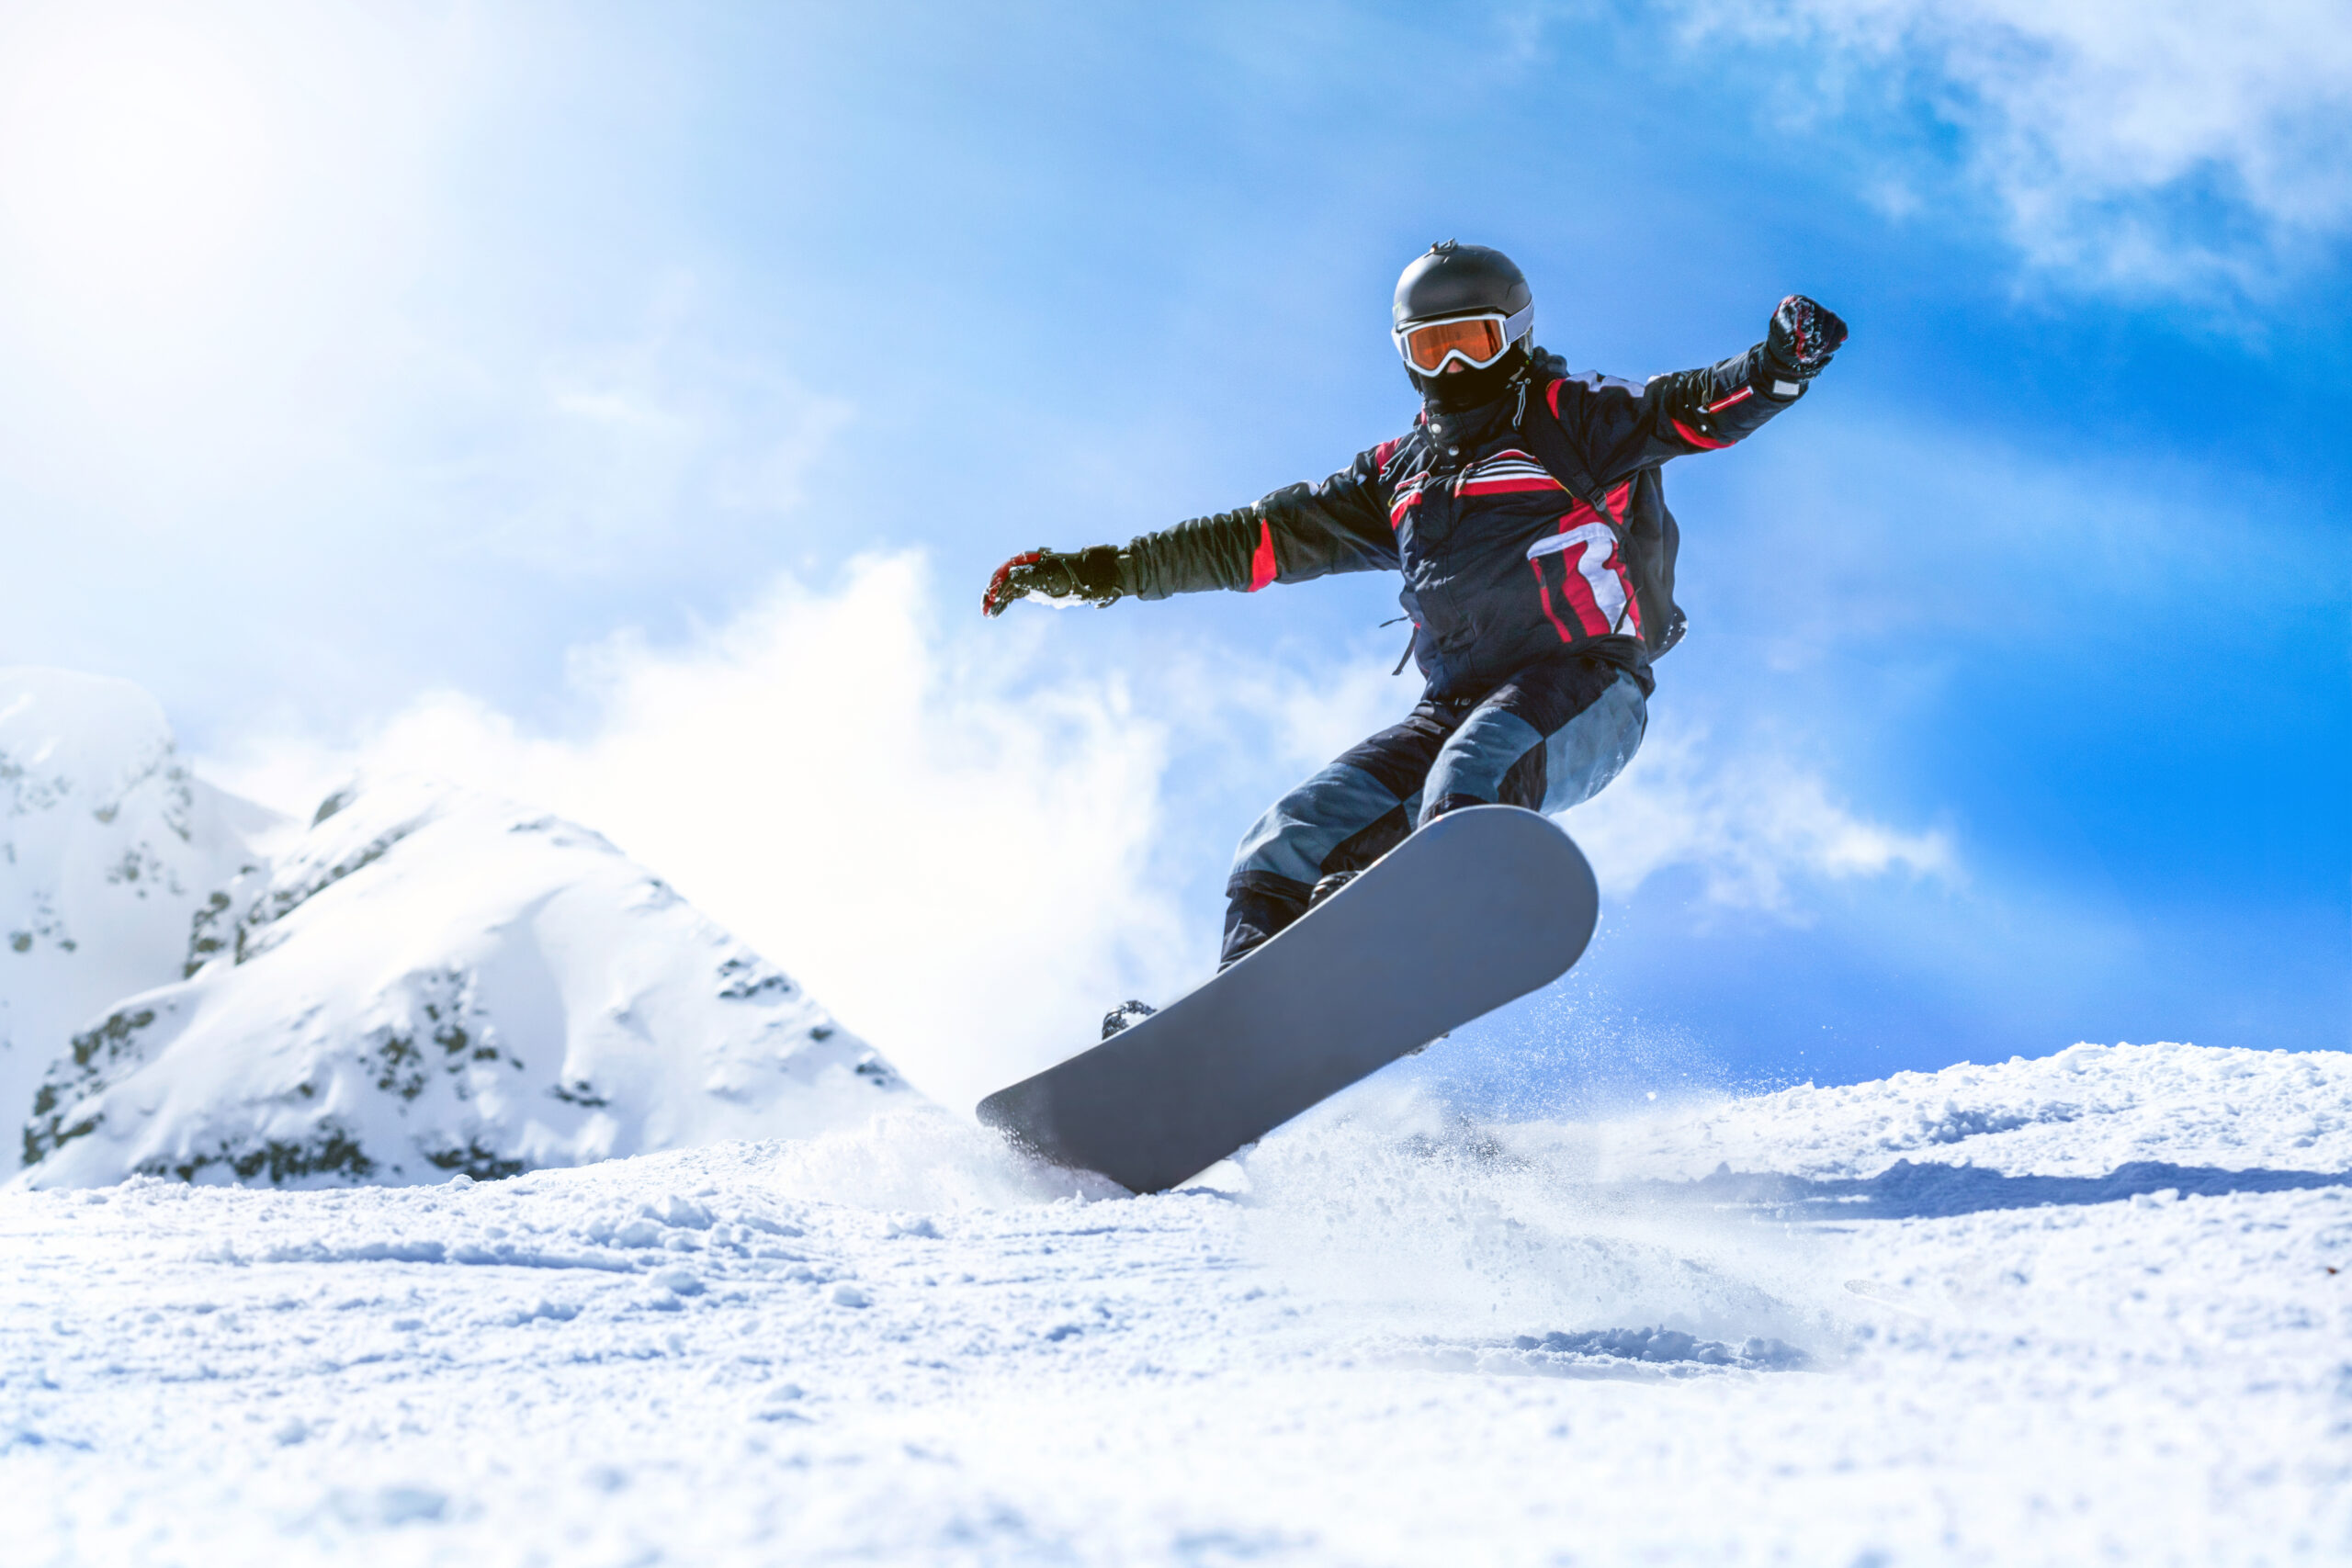
There’s nothing like carving down a fresh slope on a cold winter morning. Whether it’s your first time on the board or your hundredth, snowboarding never loses its thrill. But to have the best day on the mountain, you’ve got to be prepared. Trust me—I’ve learned the hard way that missing just one piece of gear can turn a great day into a miserable one real fast.
Over the years, I’ve dialed in a gear checklist that keeps me warm, safe, and riding at my best. Here’s everything I make sure to bring with me when hitting the slopes, plus a few extra tips I’ve picked up along the way.
1. The Right Board for Your Riding Style
First things first: your snowboard. It might seem obvious, but picking the right board for your style is key. I ride an all-mountain board since I like to do a bit of everything—powder, groomers, and even the terrain park now and then. If you’re more into freestyle tricks, you’ll want a shorter, more flexible board. If you’re chasing powder, go longer and wider for better float.
Also, don’t forget to check your edges and base before heading out. A quick wax and edge tune-up can make a huge difference in how your board rides—especially on icy days.
2. Bindings That Fit You and Your Ride
Bindings are like the steering wheel of your setup. A solid pair of bindings makes a big difference in comfort and control. Make sure they’re properly adjusted to your boots and stance. I prefer medium-flex bindings that give me a mix of support and flexibility, which helps when I’m switching between cruising and carving.
Tip: If your straps are starting to wear down or the ratchets are sticking, replace them before the season starts. The last thing you want is a binding failure at the top of a mountain.
3. Boots That Keep You Warm and Locked In
Snowboard boots can make or break your day. They need to fit snugly—tight enough to keep your foot stable, but not so tight they cut off circulation. Personally, I go with medium-flex boots with a BOA lacing system because they’re quick and easy to adjust on the fly.
And warm boots are a must. Make sure they’re fully dry before each ride—wet boots = frozen toes = game over. I use boot dryers or stuff mine with newspaper if they’re damp after a long session.
4. Helmet and Goggles: Safety and Visibility First
A helmet is non-negotiable. I’ve taken my fair share of spills, and my helmet has saved me more than once. Find one that fits snugly and has good ventilation. It’s also nice when it’s audio-compatible—music on mellow runs is a vibe.
Goggles are just as important. Choose a pair with good anti-fog and interchangeable lenses. You’ll want a high-VLT lens for cloudy days and a low-VLT (darker) lens for sunny bluebird days. Clear vision = better rides and fewer collisions.
5. Layered Clothing to Match the Weather
Snowboarding is all about layers. You never know how the weather’s going to change during the day, so being able to adjust is crucial.
Here’s my go-to system:
- Base Layer: Moisture-wicking thermal top and bottoms. Avoid cotton.
- Mid Layer: Fleece or light down jacket. Something warm but breathable.
- Outer Layer: Waterproof jacket and pants. I go for ones with vents to help with temperature control.
Don’t forget gloves or mittens (I go with mittens for warmth), a neck gaiter or balaclava, and snowboarding socks—not just any socks, but ones made for snowboarding that wick sweat and keep you warm.
6. Extras That Make a Big Difference
Some things you don’t realize you need until you forget them:
- Chapstick with SPF – Wind and sun can wreck your lips out there.
- Sunscreen – Even on cloudy days, UV rays reflect off the snow.
- Hand warmers – Lifesavers on freezing days.
- Backpack or hydration pack – Great for carrying water, snacks, or an extra layer.
- Tool or multi-tool – For adjusting bindings on the mountain.
Also, bring a small first-aid kit, especially if you’re hitting backcountry terrain or parks where injuries are more common.
7. Lift Pass, ID, and Some Cash
Don’t be the person who gets all geared up just to realize you left your pass at home. I keep mine clipped inside my jacket or loaded onto an app if the resort supports mobile passes. It’s also smart to carry your ID and a bit of cash or a card in case the lodge Wi-Fi is down or you need a quick snack.
Final Thoughts
Every snowboard trip is a little different, but being prepared always makes the day smoother. Whether I’m hitting a local hill for a couple hours or spending a weekend at a resort, I always run through this checklist before I leave. Snowboarding is supposed to be fun, not stressful—and showing up with the right gear makes all the difference.
At the end of the day, it’s about more than just equipment—it’s about having everything you need to stay safe, ride hard, and enjoy the moment. The mountain is calling—are you ready?